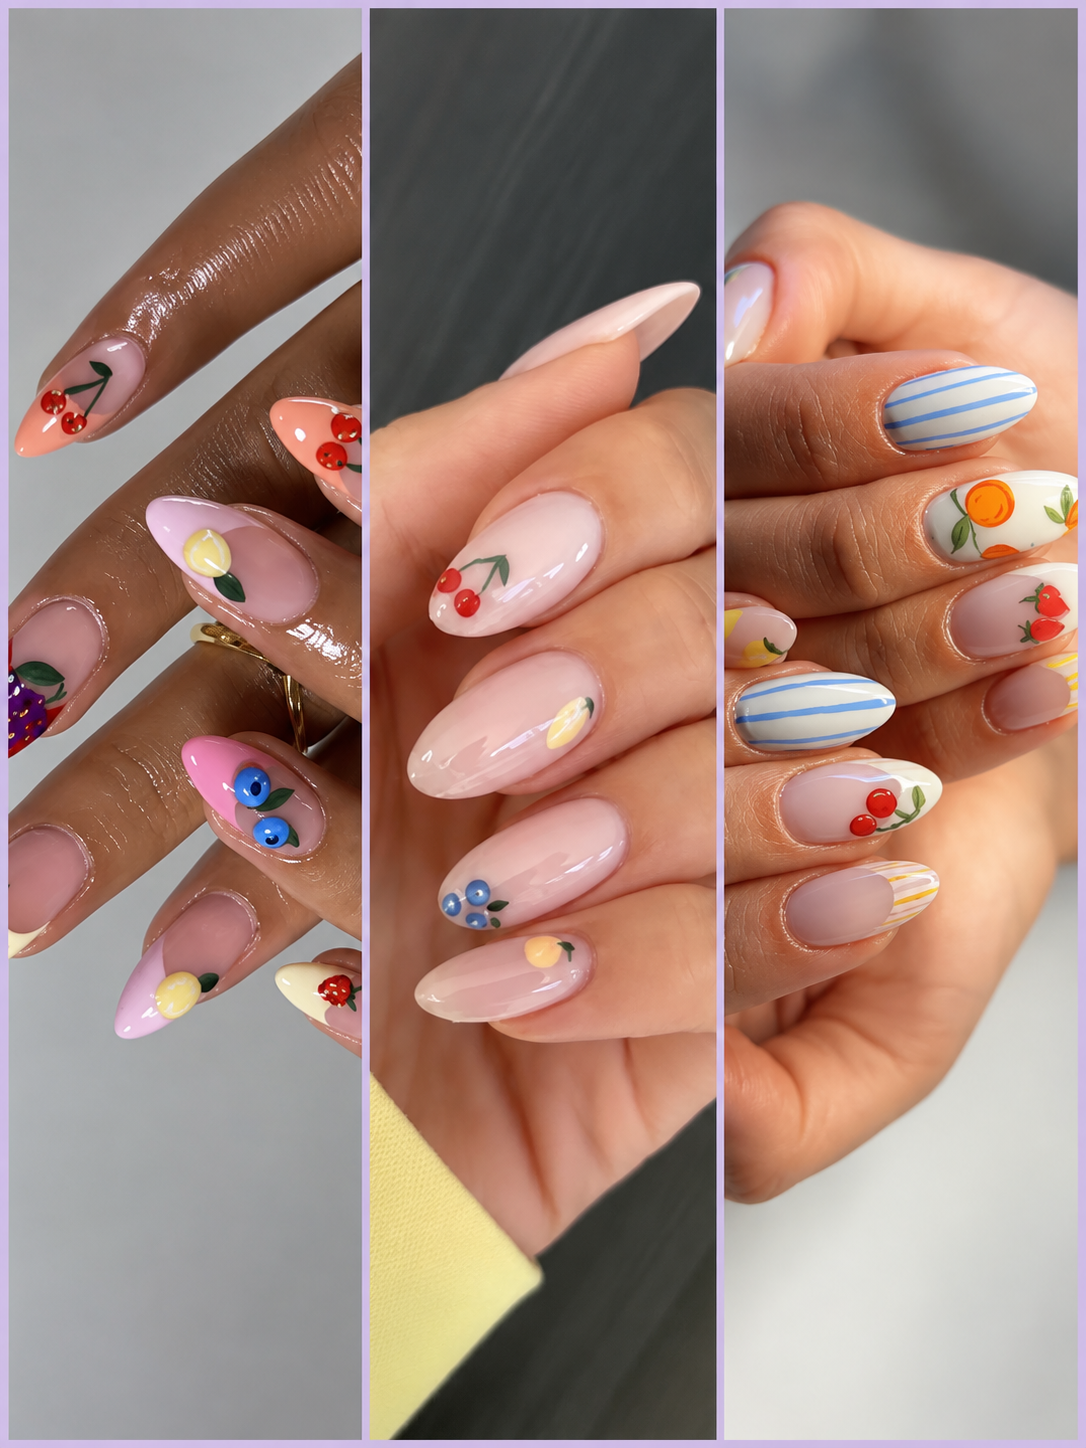
Micro Nail Art 101: Tiny Cherries, Florals, and Fruits Taking Over Instagram
The era of oversized 3D charms, heavy rhinestone encrusting, and sprawling hand-painted landscapes on 2-inch acrylics is stepping aside for something far more delicate. In 2026, social media feeds—particularly Instagram and Pinterest—have been taken over by micro nail art.
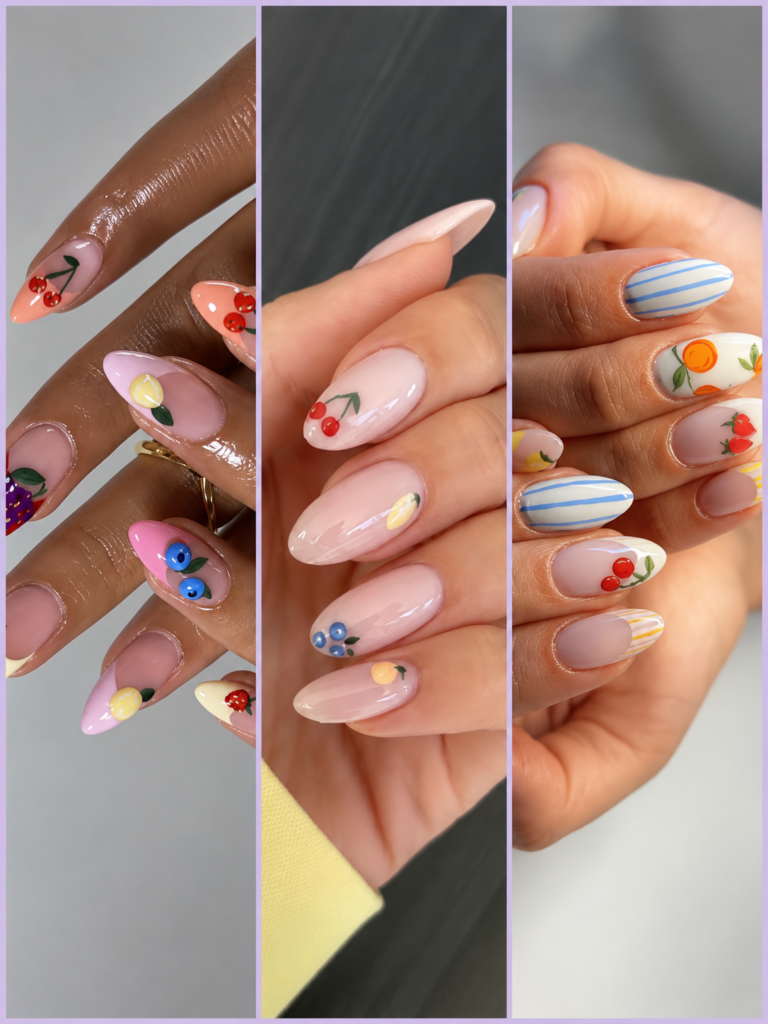
Featuring miniature cherries, micro daisies, tiny lemons, and single-dot strawberries set against glossy negative space, micro nail art combines playful personality with minimalist elegance. It is whimsical yet sophisticated, expressive yet office-appropriate, and remarkably versatile across all natural nail lengths.
1. What Is Micro Nail Art?
Micro nail art is defined by scale and negative space. Unlike traditional nail art that covers the entire surface of the nail bed, micro art relies on tiny, standalone motifs positioned strategically on a sheer or nude base.
- Pinpoint Sizing: Motifs are often no larger than 2 to 4 millimeters wide, requiring ultra-fine detail brushes or precision dotting tools.
- Negative Space Dominance: At least 70% to 80% of the nail plate remains bare, sheer, or milky, allowing the natural nail bed to breathe while emphasizing the detail of the artwork.
- Intentional Placement: Motifs are rarely placed uniformly on every nail. Instead, they appear as asymmetrical accents near the cuticle, floated at the tip, or scattered across just two “accent” fingers.
2. The Big Three: Motifs Dominating Instagram
While micro nail art can feature everything from starbursts to tiny bow-ties, three botanical and fruit motifs dominate current social media trends:
A. The Micro Cherry
The undisputed icon of the micro art revival. Painted using two tiny red dots connected by a paper-thin green stem, micro cherries offer a retro nod without feeling dated. They are frequently paired with micro-French tips or sheer milky pink bases.
B. Micro Florals (The 5-Dot Daisy)
Creating miniature flowers requires zero freehand line work—making it a favorite among DIY nail artists. Five micro-dots placed around a central yellow core form a clean, daisy-like bloom. Scattered sparsely over a glossy topcoat, they resemble delicate vintage embroidery.
C. Summer Micro Fruits (Lemons, Citrus Slits, & Berries)
Bright, high-pigment fruits add a pop of color to neutral bases. Micro lemons (painted as tiny ovals with green leaf accents), blueberries, and strawberries bring a playful, Italian-summer feel to everyday manicures.
3. Tool Kit: What You Need for Micro Precision
Attempting micro art with standard polish brushes usually leads to oversized blobs. Achieving pin-sharp detail requires specialized micro-tools:
| Tool | Primary Purpose | Pro-Tip for Beginners |
| 000 Detail Brush (0.5mm) | Stem lines, fine foliage, citrus outlines | Trim excess bristles off a standard fine brush to make it ultra-thin |
| Micro Dotting Tool (0.8mm – 1mm) | Cherry fruits, flower petals, blueberry bases | Use the head of a sewing pin taped to a pencil if you lack a dotting tool |
| High-Pigment Gel Paints | Intense opacity in a single stroke | Standard polishes dry too quickly; gel paint gives unlimited working time |
| Lint-Free Wipes & Alcohol | Cleaning brush tips between lines | Clean your detail brush every 30 seconds to prevent pigment buildup |
4. How to Paint Micro Cherries at Home
Painting micro cherries is surprisingly simple once you master brush control and paint volume.
1.Prep & Apply Sheer Base:Provides a clean, uniform canvas.
Shape nails and remove surface oils with alcohol. Apply one to two thin coats of a sheer nude, milky pink, or clear base coat. Cure or allow to dry completely.
2.Dot the Cherry Bodies:Form the base of the fruit.
Dip the tip of a micro dotting tool into bright red gel polish. Tap two tiny, side-by-side dots onto the nail bed, keeping them roughly 1mm apart.
3.Draw Stems & Leaves:Precision line work brings the motif to life.
Dip a 000 detail brush into deep green paint. Starting from the top of each red dot, pull two ultra-thin arching lines together so they meet at an upside-down ‘V’. Add a tiny leaf flick at the junction.
4.Flash Cure & Seal Top Coat:Caps the artwork and adds longevity.
Cure the art for 30 seconds under an LED lamp (or allow air-dry polish to set for 2 minutes). Float a thick glossy top coat over the entire nail surface to seal the edges.
5. Style Pairings: How to Wear Micro Art
- Short Natural Nails: Micro art shines brightest on short, active-length natural nails. The small motifs proportion perfectly without overcrowding the nail bed.
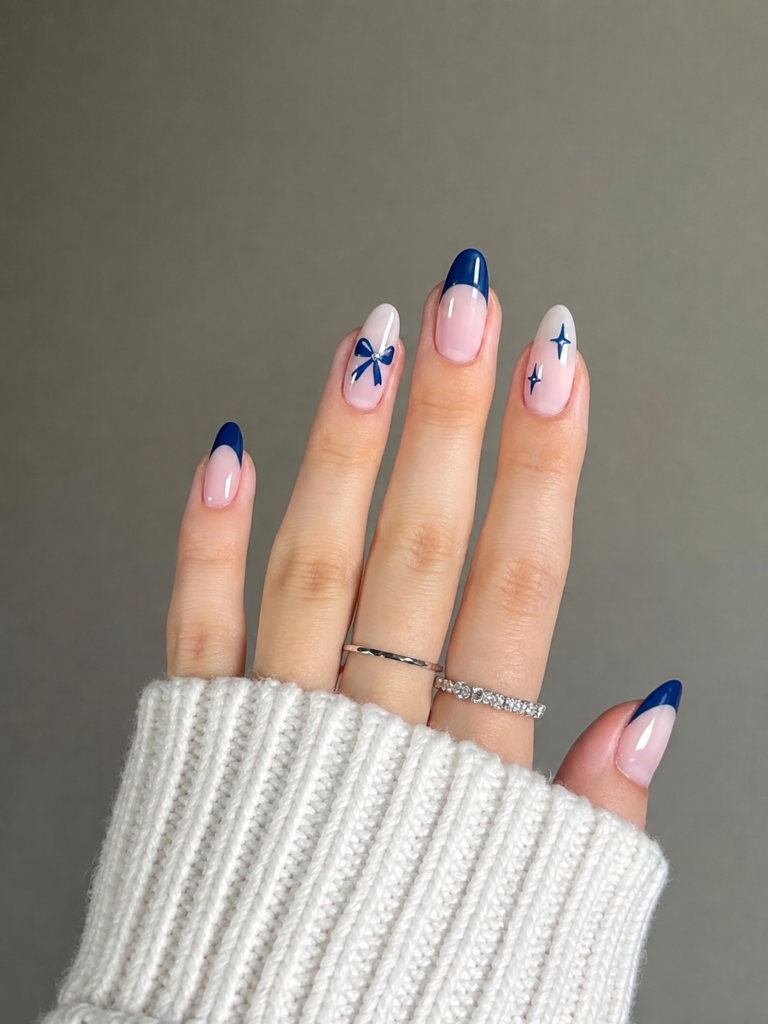
- Micro French Hybrid: Combine a paper-thin French tip line with a single micro cherry or floral motif sitting just above the cuticle line on the ring finger.
- Mix-and-Match Sets: Paint a different micro fruit (cherry, lemon, blueberry, peach, strawberry) on each finger over a nude base for an playful summer set.