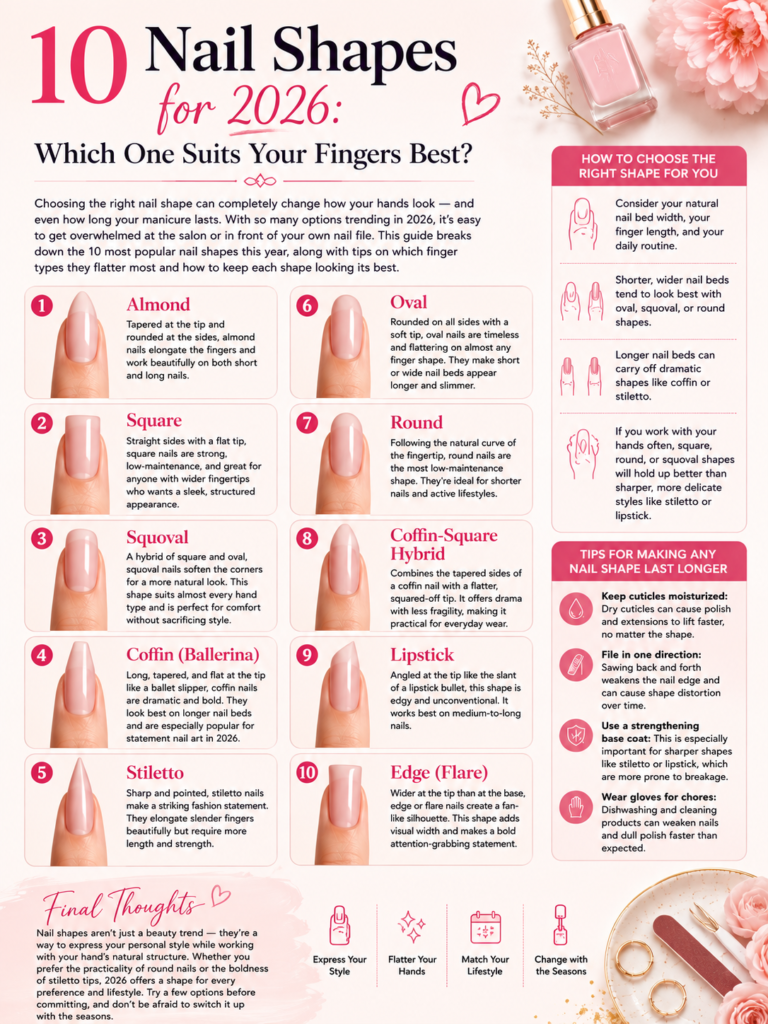
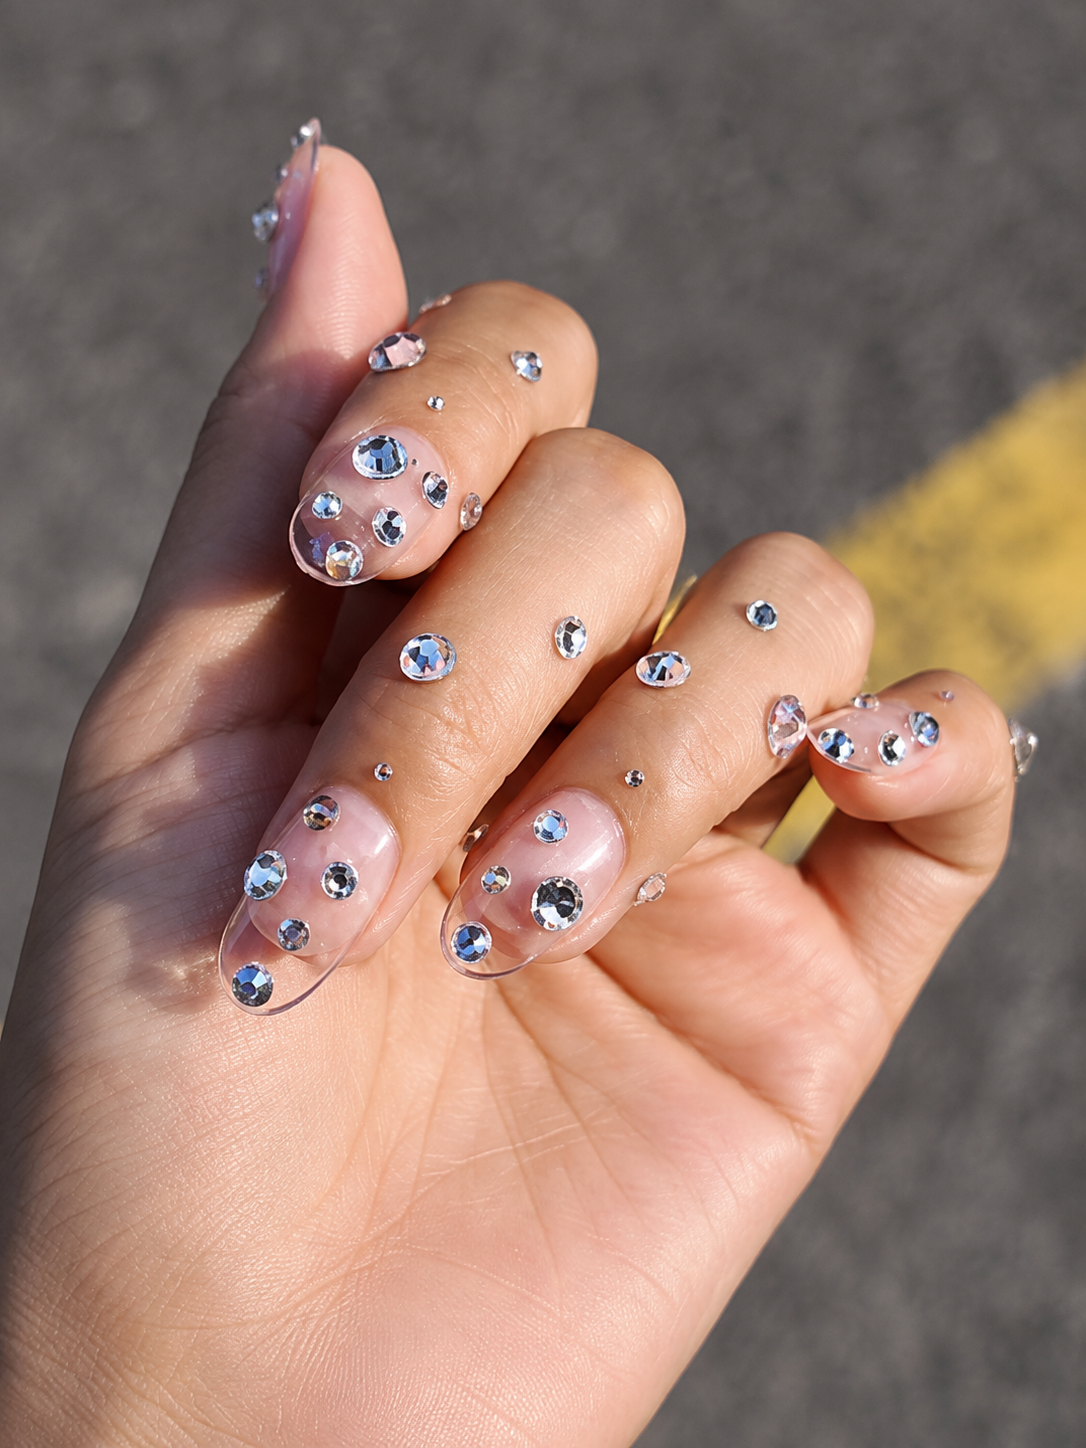
Bejeweled Minimalist Nails: How to Get the Look Without Overdoing It
For years, nail embellishments were synonymous with high-octane glamour: full-coverage Swarovski crystal encrusting, heavy 3D alloy charms, and dense cluster arrangements that covered every square millimeter of the nail bed. While those maximum-impact sets certainly have their place on concert stages and fashion runways, they can feel impractical and visually overwhelming for everyday wear.
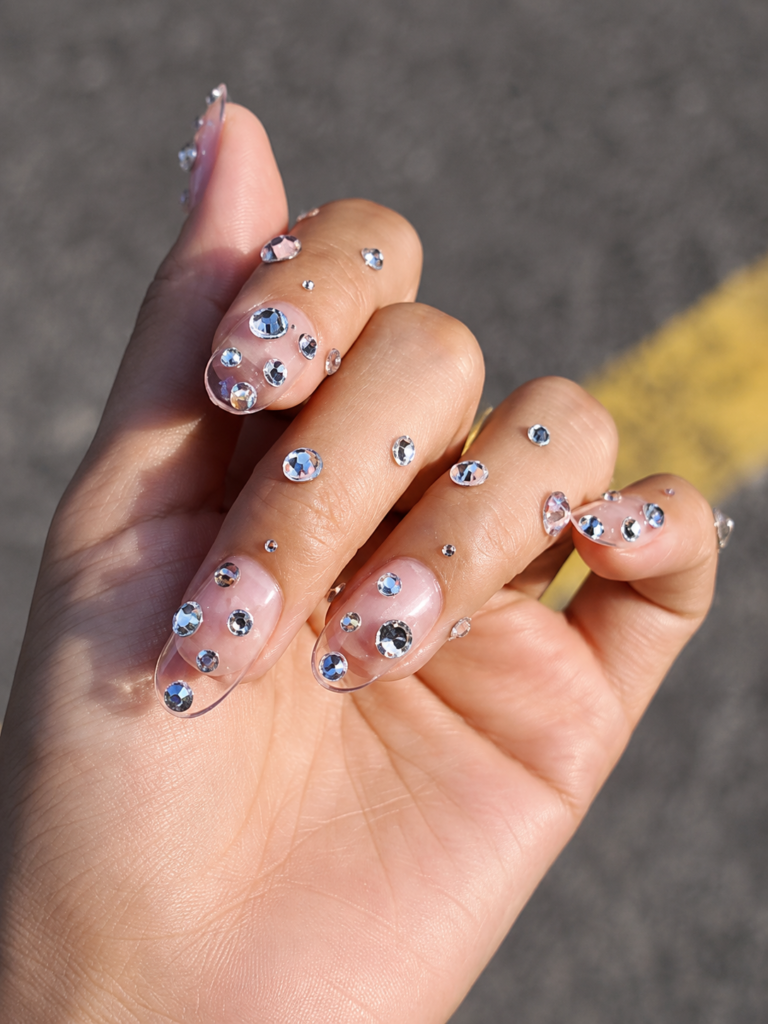
Enter Bejeweled Minimalist Nails. This aesthetic takes the light-reflecting magic of rhinestones, pearls, and metallic studs and pairs them with clean, semi-translucent bases and negative space.
Instead of treating crystals as a heavy tapestry, minimalist jeweled nail art treats them as delicate jewelry pieces for your hands—like a single diamond stud earring or a fine gold chain. The result is an elevated, understated, and surprisingly wearable manicure that catches the light without snagging on your clothes or feeling overly dramatic.
1. The Core Principles of Minimalist Bejeweled Nails
To execute a jeweled nail design that feels chic rather than cluttered, nail technicians follow a few fundamental design rules:
A. Prioritize the Negative Space
The background matters just as much as the gem itself. A minimalist jeweled set relies on ultra-clean, sheer bases—such as milky white, soft sheer pink, clear gloss, or nude builder gel. Leaving 80% to 90% of the nail bed bare creates contrast, letting the solitary jewel become a focal point.
B. Scaled Proportion (Micro-Gems Over Heavy Rocks)
Instead of opting for 6mm or 8mm large statement stones, minimalist designs lean heavily on micro-rhinestones (sizes SS3 to SS6, which measure roughly 1.3mm to 2.0mm in diameter). Tiny flat-back pearls, delicate caviar beads, and micro-metallic studs preserve a low profile while adding texture.
C. Strategic Placement Over Full Coverage
Rather than clustering gems randomly across the center of the nail, minimalist placement follows natural anatomical lines:
- The Cuticle Cuff: A single micro-gem centered just above the cuticle line.
- The Free-Edge Float: A tiny jewel nestled off-center near the tip.
- The Lone Accent: Keeping four nails completely plain while adding a single stone or delicate arrangement to the ring finger or thumb.
2. Five Popular Bejeweled Minimalist Styles
If you want to try this look, here are five refined design variations currently dominating nail salons:
1. The Solitaire Cuticle Placement
This is the ultimate entry point for gem-curious minimalists. A single, small clear crystal or flat-back pearl is positioned at the base of each nail, right above the cuticle moon. Over a sheer nude base, it resembles delicate ring jewelry.
2. The Dewdrop Manicure
Using clear, non-faceted glass crystals or clear 3D gel droplets paired with micro-rhinestones, this design replicates the look of fresh morning water droplets resting scattered on a bare nail.
3. Pearl-Capped French Tips
Replace a standard painted white French tip with a row of microscopic flat-back pearl studs lining the free edge, or place a single tiny pearl right at the intersection where the French arch meets the side wall.
4. Celestial Micro Stars & Studs
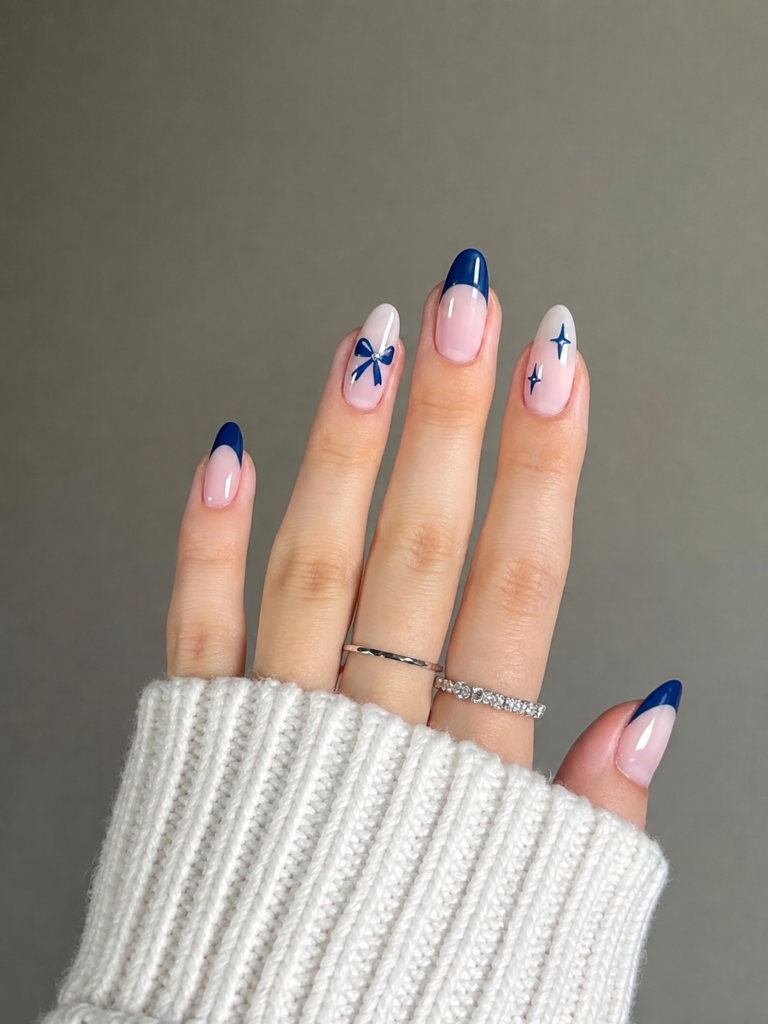
Combining tiny starburst decals or hand-painted micro cross-stars with a single pinpoint rhinestone at the center creates a soft, constellation-inspired look that remains subtle from a distance.
5. Metallic Caviar Accents
Instead of light-refracting crystals, use gold, rose gold, or silver metallic caviar beads (tiny steel spheres) placed in a clean vertical line or a single triangle formation at the base of the nail.
3. Tool Kit & Materials: What You Need
Working with tiny gems requires precision tools to keep your application clean and free of messy glue pooling.
| Tool / Material | What It Does | Why It Matters |
| Wax Rhinestone Picker Pen | Picks up micro-gems effortlessly using a tacky wax tip | Beats tweezers, which often launch tiny stones across the room |
| Hard Gel / Rhinestone Glue Gel | High-viscosity resin that holds gems in place | Prevents gems from sliding around before curing under light |
| Micro-Detail Brush (000) | Applies exact pinpoint dots of gel adhesive | Controls adhesive volume so glue doesn’t overflow around the stone |
| Non-Wipe Gel Top Coat | Seals the surrounding nail bed to a high gloss | Keeps the base shiny without dulling the faceting on top of the gem |
4. How to Apply Gems at Home Without Snagging or Popping Off
The biggest complaint about jeweled nails is durability: stones popping off after two days or getting caught in hair and sweater knits. Following a structured adhesion technique solves both issues.
1.Prep & Complete Base Polish:Establishes a smooth, fully set base color.
Apply your chosen base coat (sheer nude, milky gel, or clear) and cure or allow it to dry completely. If using gel, apply top coat first and cure, as you want to apply the gem on top of a finished surface.
2.Place Pinpoint Adhesive Dots:Targeted placement keeps the design clean.
Dip a fine detail brush into thick rhinestone gel or nail glue. Deposit tiny, pinpoint dots of adhesive exactly where you plan to place each stone. Keep the bead of glue slightly smaller than the gem base.
3.Set and Position the Gem:Precise positioning with minimal pressure.
Use the wax end of a rhinestone picker tool to pick up the crystal. Press it gently into the dot of adhesive. Adjust positioning with the metal end of the tool before curing.
4.Flush-Seal the Edges (The Key Step):Fills microscopic gaps around the base of the stone.
Dip your fine detail brush into a non-wipe gel top coat. Trace a microscopic seal around the outer perimeter of the gem base—creating a smooth ramp from the stone to the nail plate. Do NOT paint top coat over the top of faceted crystals, as it ruins their light reflection.
5.Full Cure:Locks the resin and seal completely.
Cure under an LED lamp for 60 seconds (or allow traditional resin glue to dry for 3 minutes). The smooth rim of topcoat around the base prevents hair and fabric fibers from catching underneath.
5. Quick Comparison: Heavy Glam vs. Minimalist Bejeweled
| Feature | Classic Maximum-Glam Jewels | 2026 Minimalist Bejeweled |
| Gem Size | Medium to Extra-Large (SS10 – SS30 + 3D Charms) | Micro-Gems (SS3 – SS6, 1mm-2mm Pearls) |
| Coverage Area | 50% to 100% of the nail bed | 5% to 15% of the nail bed |
| Base Color | Opaque dark shades, glitters, or bright colors | Sheer nudes, milky whites, clear glass |
| Maintenance | High maintenance, prone to snagging | Low maintenance, flush-sealed edges |
| Overall Aesthetic | Bold, dramatic, stage/event statement | Subtle, everyday luxury, professional-friendly |
6. Pro-Tips for Longevity & Removal
- Never Paint Topcoat Over Faceted Glass: Covering a multi-faceted crystal with a thick topcoat rounds off its sharp angles, turning a sparkling stone into a dull, flat glass bump. Always work around the stone.
- Use Flat-Back Gems Only: Conical-back (pointed back) stones are meant for jewelry settings or thick 3D acrylic builds. Flat-back stones sit flush against natural nails.
- Gentle Soak-Off Removal: Never pry or pick stones off with a cuticle pusher, as this strips layers of your natural nail plate. File down the sealed topcoat around the stone, soak a cotton ball in pure acetone, wrap in foil for 10 minutes, and the adhesive will slide off cleanly.